Setting up macOs for development
So I recently got a new Macbook Air, and after a couple of weeks of installing and configuring I finally have an initial setup I’m happy with.
Step 1
Setup, install Yosemite, open System Preferences and change everything.
Remove most things from the dock, change the theme to Dark.
Play with the trackpad gestures, didn’t understand the reason for the dashboard. Love Mission control though, I need to learn some keyboard shortcuts. I have a Spanish keyboard, so for the shortcuts alt might be opt.
- Enter renames files.
- cmd+space opens Spotlight. I’ve heard a lot about Alfred, but for now I don’t feel like I need it.
- cmd+alt+esc it’s the
ctrl+alt+delof Mac, I only needed it once though. - cmd+Q Actually close the current app.
- cmd+Arrow Right/Left for Start/End of line. Up/Down for Start/End of document.
Also, right click can be setup as two finger click. Drag and text selection with 3 fingers, I almost feel like playing piano using the Mac…
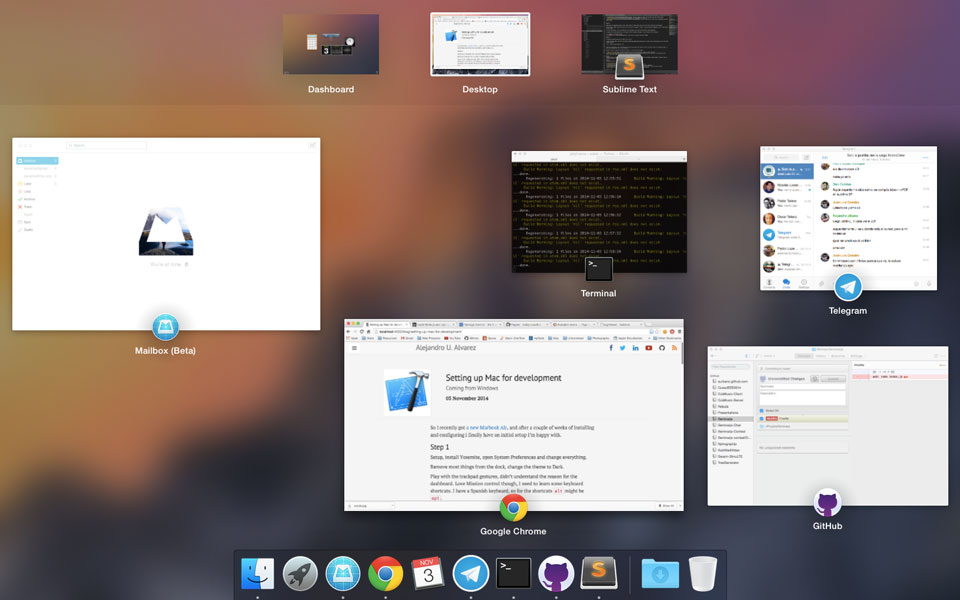
edges - Mission Control
Step 2
Install Homebrew:
ruby -e "$(curl -fsSL https://raw.githubusercontent.com/Homebrew/install/master/install)"
This is the missing Mac version of apt-get, kind of.
Update your packages list: brew update
Make sure everything is fine: brew doctor, follow any recommendations.
If brew doesn’t work as a command add this to your bash/zsh profile:
export PATH="/usr/local/bin:$PATH"
Install node: brew install node
Install python: brew install python. It comes with setuptools and pip already :) More info here.
Install git: brew install git
Now enable Keychain for Git, this is a really good feature that allows you to stop entering the user/pass on every push you do. You can also use the ssh url, but that requires you to change it if you clone using the app…
git config --global credential.helper osxkeychain
Step 3
Install xcode (App Store), it takes a while so I’ll do other things while it’s at it.
It turns out that installing apps downloaded from the Internet is quite simple. You’ll usually get a .dmg file, which is a disk image file (similar to .iso). They normally contain the app and a shortcut to the apps folder, drag the app there and done. If you don’t get the shortcut open finder and drag it into the Applications folder.
Sometimes you get a .pkg, they are usually installers.
Install Sublime Text 3, import plugins from my Windows machine. For reference I use the following:
- AngularJS: Does some autocomplete for html, javascript…
- AutoFileName: Dropdown completion for paths, it’s slightly buggy sometimes but works fine overall.
- DocBlockr: Help with /** comments
- Emmet: You don’t understand how boring is typing html until you learn how to use Emmet. Seriously.
- FTPSync: I rarely use FTP any more, but this allows you to easily upload/download changes from ST.
- Git: I prefer an actual git console, but this displays useful information on the status bar.
- Jekyll: Text formatting and some completion.
- JsFormat: Auto formats javascript on save, and some other things.
- Markdown editing: Good companion for a Jekyll site, also useful if you edit Readme files.
- Package Control
- Github: Good gist support, I think it also does some other things though.
- LaTeXTools: I’ll expand on this later on.
- SublimeCodeIntel: Turn ST into more of an IDE, smart autocomplete and some other things.
Step 4
Open xcode, new playground project, take a look around: It looks really cool, but I don’t have time right now. Moving on.
Install Chrome. Safari works really well but all my stuff is already in Chrome. It uses more battery apparently, but I’m sure they’ll fix that soon.
I’ll set up LaTeX now. It turns out Miktex is not available, but we have Mactex.
I’m going to be using Sublime Text for editing, with the LaTeXTools package. I’m only using two of its features:
- cmd+B Builds as usual.
- cmd+L, V Open the generated pdf, I can’t get it to jump to the cursor though.
Step 5
The default Terminal looks ok, but needs a lot of work.
I prefer Zsh over Bash, and Oh My Zsh is the best way of getting that to work. Run their custom installer:
curl -L http://install.ohmyz.sh | sh
Oh My Zsh is basically a set of configuration settings and plugins that make your life a lot easier. Open a new Terminal window, if zsh is not already there run chsh -s /bin/zsh.
Now you’ll want to configure the theme and plugins, so follow these two guides:
- Chose and install a theme, I really like Avit.
- Browse the plugins and add the ones you like, I currently have: git, rails, ruby, brew, common-aliases, gem, npm, pip, python, rvm and sublime.
Step 6
Install the Mac Github app, it’s surprisingly worse than the Windows version though. It doesn’t feel as polished and powerful basically.
Step 7
I installed some other apps as well, although not essential:
- Transmission: Torrent client
- Transmit: FTP client (not free though, but worth it)
- Skim: Better pdf reader, interacts very well with LaTeXTools.
- Caffeine: Allows the Mac to stay awake while doing work, loving the play on words.
- Memory Clean, Flux, Spotify, Photoshop, Final Cut Pro, Office for Mac, Skype, App Cleaner…
Done for now!
Related Posts
My Interesting Zsh Prompt
Zsh is already pretty powerful, but it can still be extended into the best possible shell.