Tricopter v2.5 build and first flight
Project
After a lot of research on multirotors I decided to go with a tricopter after finding David Windestal’s videos on YouTube. He actually has a really cool blog where he writes about his projects, and used to work at FliteTest.
I started my plan with a Word document where I wrote all I could find on tricopters, fpv, parts… etc, so that when I actually decided to start I would be ready, my original list looked like this:
| Part | Quantity | Price | Subtotal |
|---|---|---|---|
| Tricopter body | 1 | 20 | 20 |
| Remote controller (9xr, no module) | 1 | 50 | 50 |
| TX & RX modules (Orange DSM2) | 1 | 60 | 60 |
| KK2.1 | 1 | 30 | 30 |
| DT750 Motors | 3 | 12 | 36 |
| ESC | 3 | 12 | 36 |
| 2200 mAh 3S battery | 3 | 30 | 30 |
| Servo | 1 | 21 | 21 |
| Props (Big bag) | 1 | 6 | 6 |
| Yaw mechanism | 1 | 3 | 3 |
| Cables & Heatshrink | 1 | 10 | 10 |
| Extras (Nuts, screws, programming card...) | 1 | 30 | 30 |
Original list
From the original list I changed a few things, it’s also missing others I included as extras.
Most of the items were bought from Hobbyking, because they have almost everything. I bought everything I could locally, and the list doesn’t show those things.
I ended up going for a bigger battery for flying, so now I use the 2200 mah for the 9xr, and a bigger 4500 mah for flying.
This photo is from the day the first box arrived:
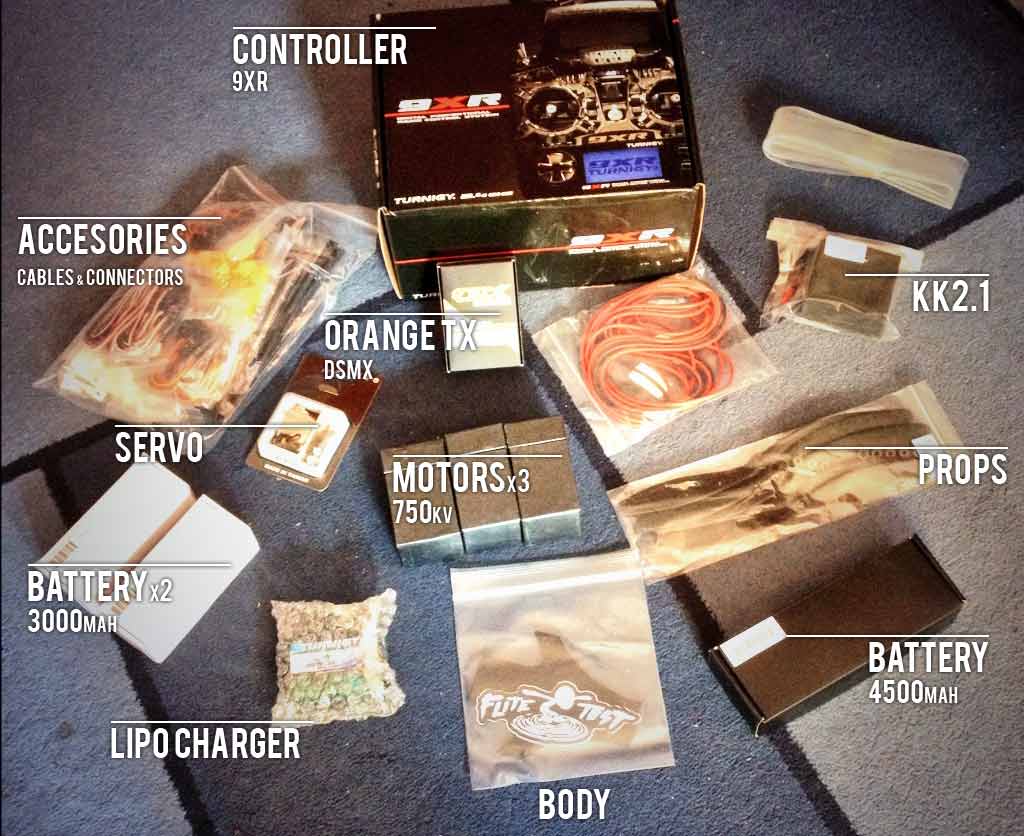
Components box
Build
The body I mentioned above was bought from Flitetest’s website, they have a really good quality and only cost 20$, although at the moment they might not be available.
One of the first problems I encountered was the wood arms. They should be 10x10mm, but I could only find 12x12, so I went with those. It turns out that the screws that I bought were just perfect for 10x10, and too short for my arms, so I decided to sand them down to size.
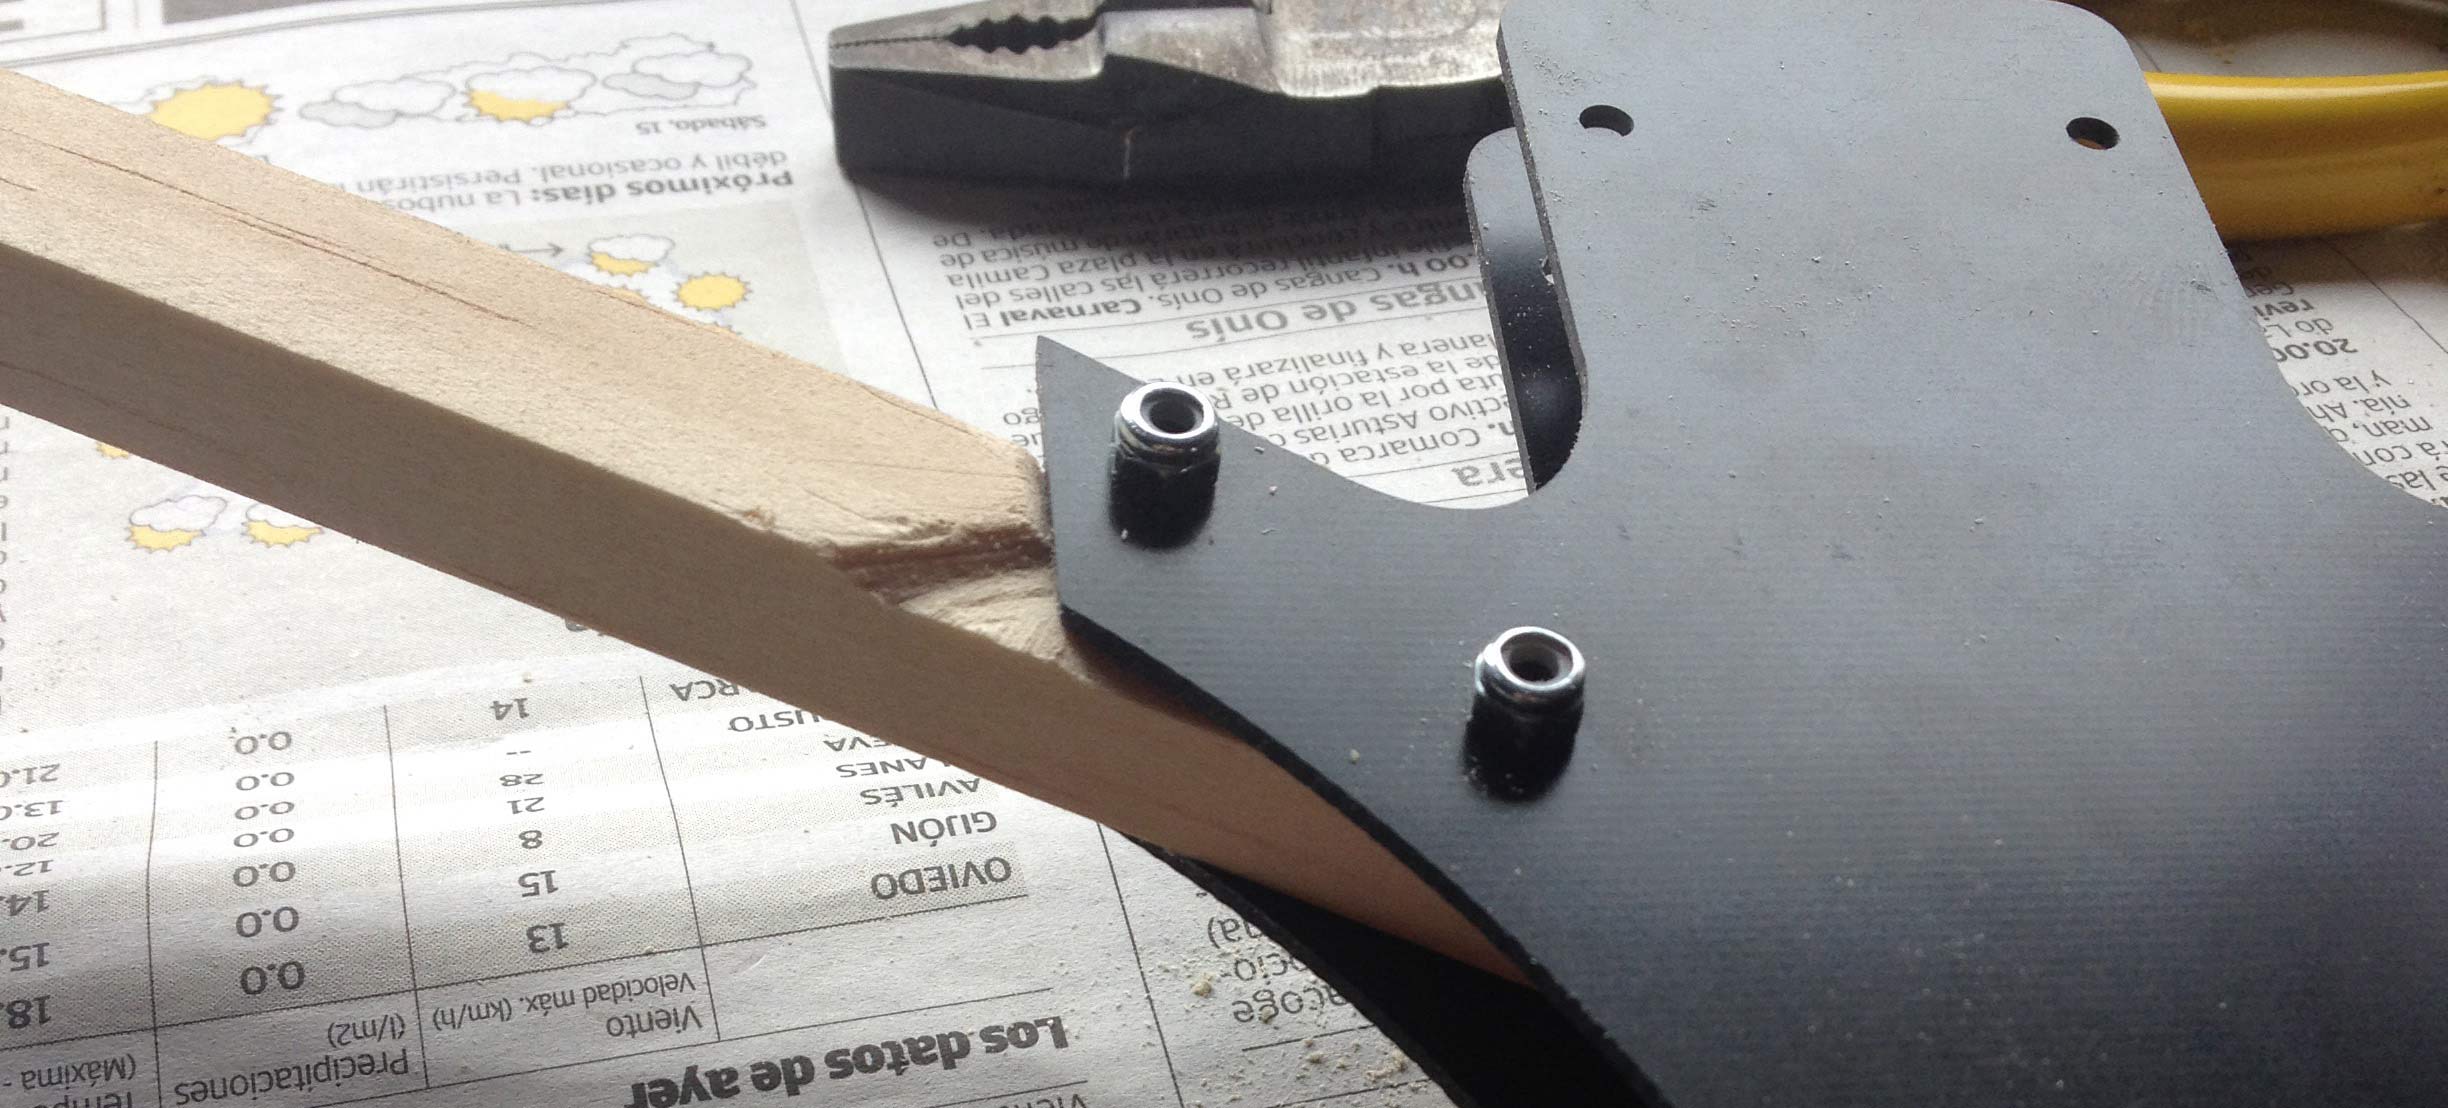
Sanded arms to fit the body
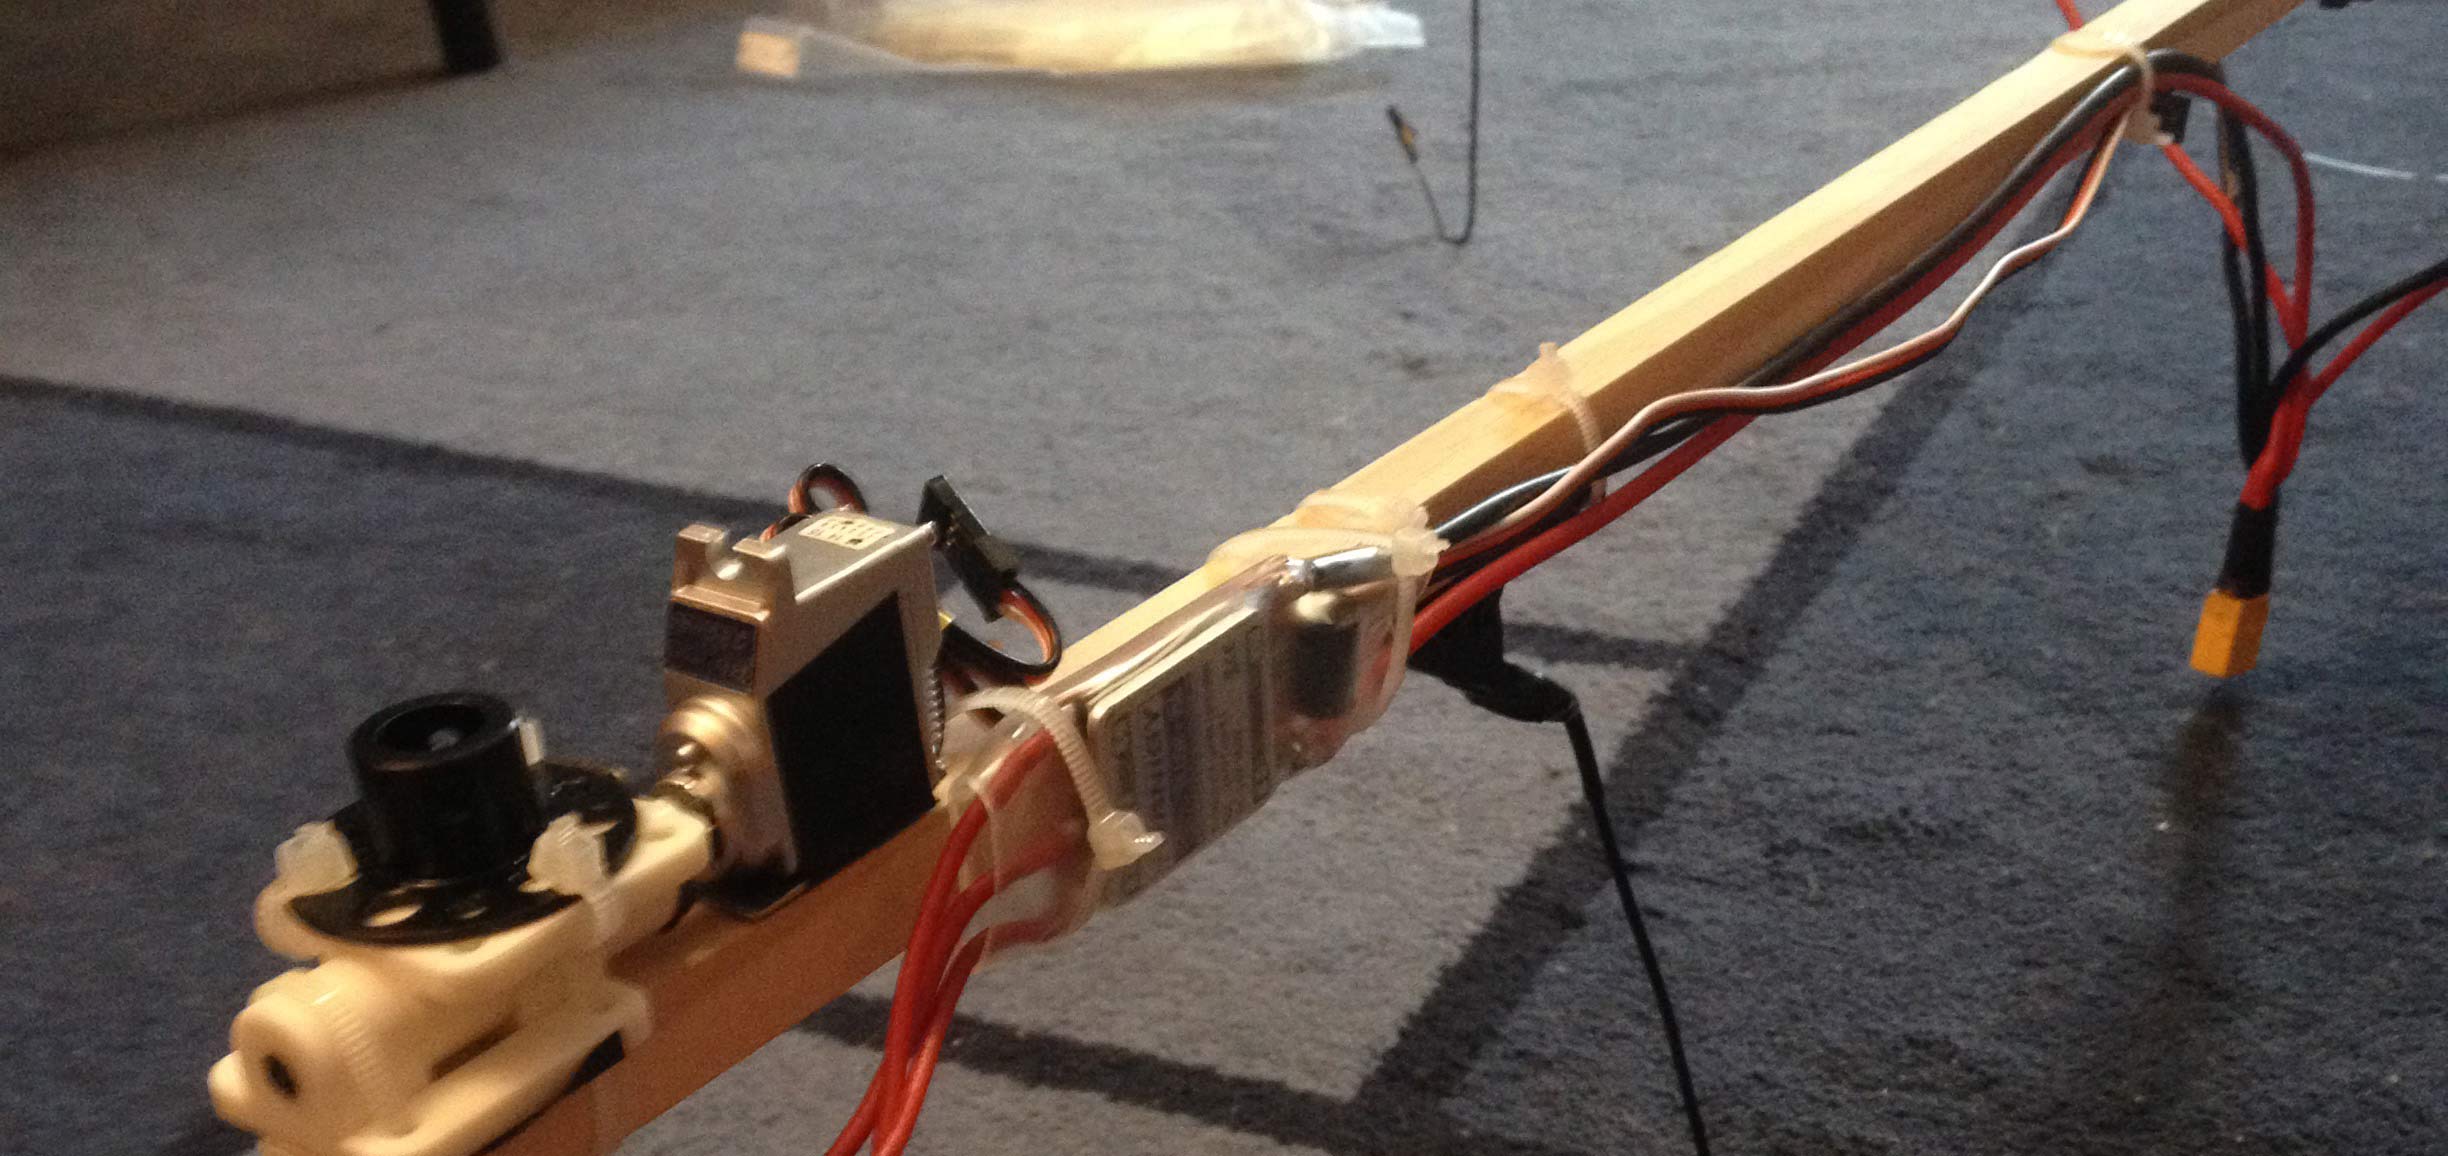
For the yaw mechanism I went with David’s design, using the plastic pieces he recommended and the tip of a fishing rod I managed to make it work. Attaching the servo was also pretty easy, since it coincidentally had the same height. Cutting the servo mounts, drilling the appropriate holes and just making the whole thing work was challenging but with patience it turned out pretty decent.

Yaw mechanism attached to the arm
Once this was done assembling all the parts and cables was a lot more straight forward. I still had to solder the ESC to their new battery cables, and then join all the cables in the same connector though. The only problem I had there was that once joined, the cables wouldn’t fit inside the connector, so it took a bit of time with a hammer and pliers.
Here you can see the back arm with the ESC in place, and the battery connector in the back.
Back arm and battery connector
I finally wired everything together, and secured the KK2.1 to the body. I decided to keep it inside the foam box it came in, for added protection. I initially secured it with a zip tie, but now use velcro. Since it was my initial build I didn’t spend too much time arranging the cables, as you can see. On my current version I used some heat shrink tubing to tidy the design up.
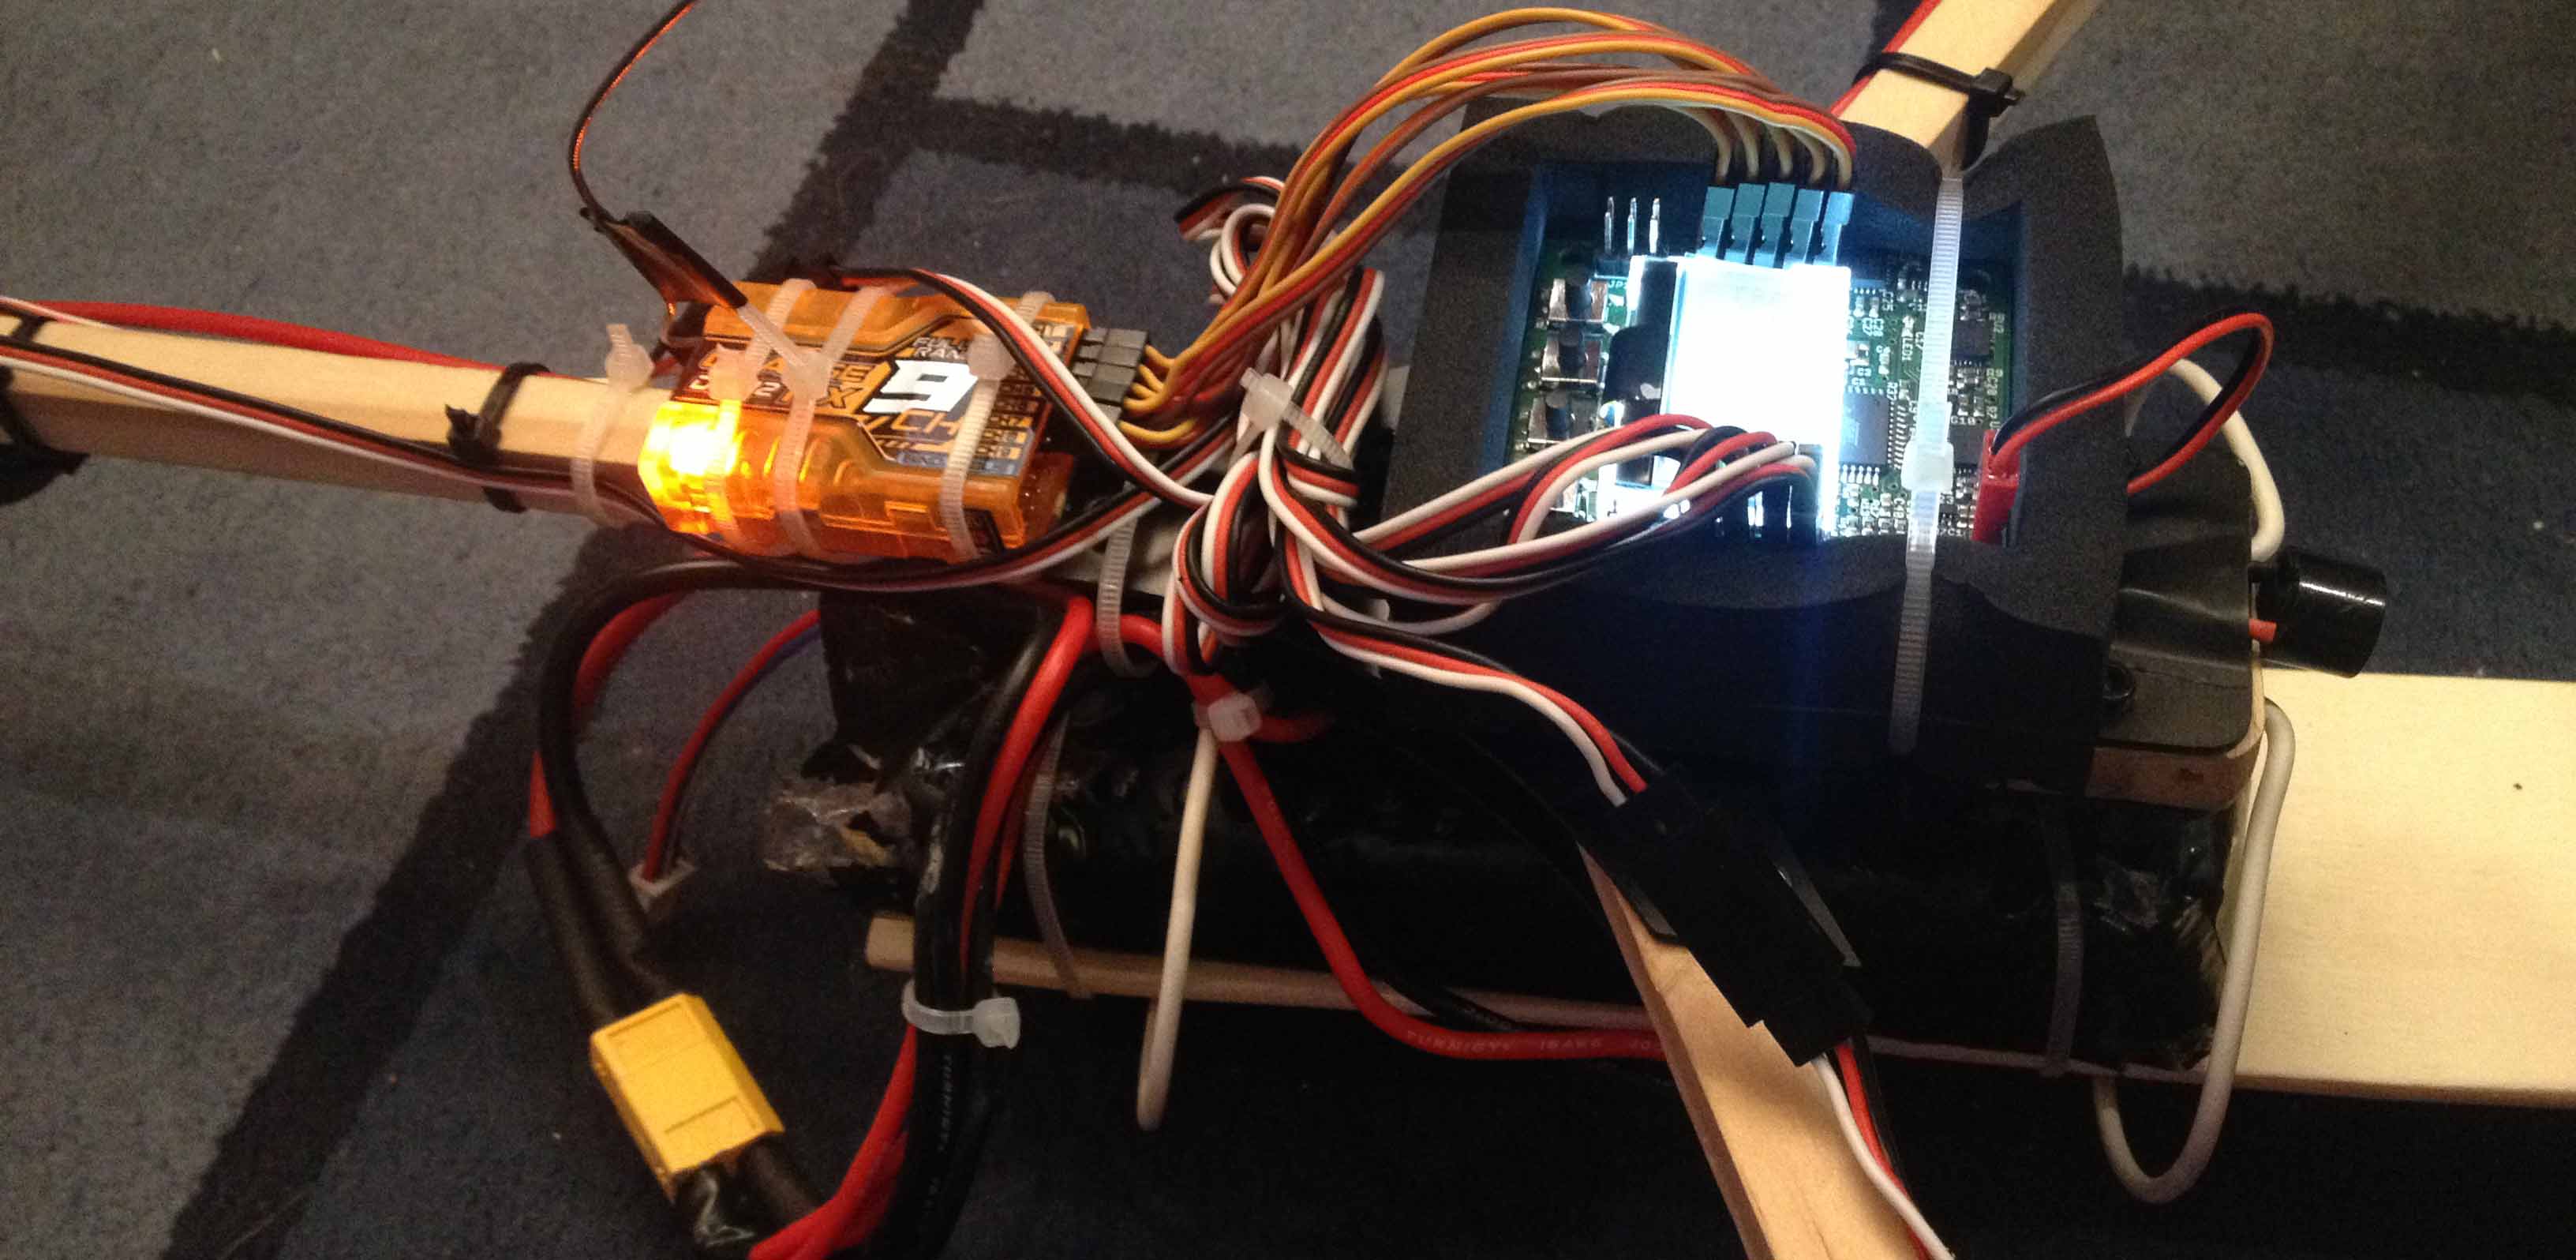
Body ready with the KK2.1 installed
Setting up the KK2.1 and the 9xr was actually really easy, there are already plenty of tutorials on both so I won’t go into detail. The most difficult parts of the build were drilling the holes in the appropriate places and making a solid structure for the tricopter.
At this point I still hadn’t bothered to check the balance of motors and props, so I was expecting a lot of vibration, but I first wanted to see if it flew!
First flight
The actual first flight was a bit of a disaster, a motor was turning less than the others (turned out to be a faulty motor), and when I replaced it and tried again it was tipping badly to one side (never found out why though). After making sure everything was really tight and well setup I finally managed to get in the air.
The first actual flight was a bit shaky and absolutely terrifying, but luckily everything ended well. I took the tricopter to an empty part of my city, set everything up and went ahead. The result can be seen in the following video.
First crash
After this flight I got myself a GoPro, and shot the following video (edited with the GoPro editor using a default template)
The crash happened because I flew even though the motor connectors were not 100% perfect. The left motor only worked when its connectors were in a very specific position, and even 1mm would be enough to make it stop. The flight lasted a lot longer than what’s shown on the video, and at some point they became loose and the rest you’ve seen.
I have ordered bullet connectors now, that should be much better and provide a more solid connection.
Future plans
David is releasing a new kit for the tricopter, that will probably improve the design greatly over my current wooden body. It will be released at 95$ so it’s quite a good price for what you get, here is a preview:
